Frequently Asked Questions
Search FAQ
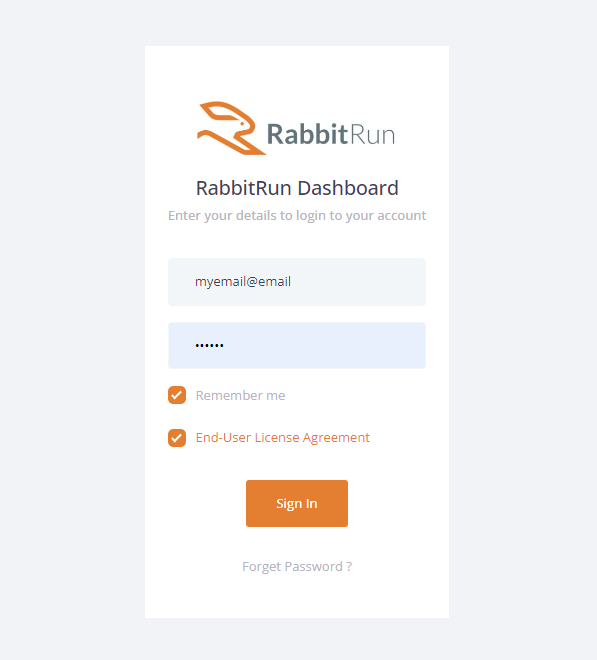
- Log in to the portal https://customers.rabbit.run/
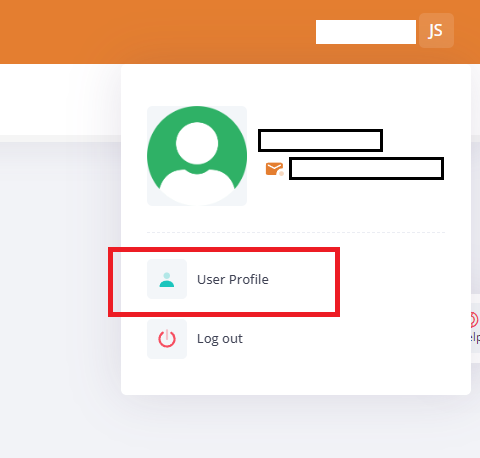
- Click on your name (top-right corner) in the customer portal and then click on User Profile.
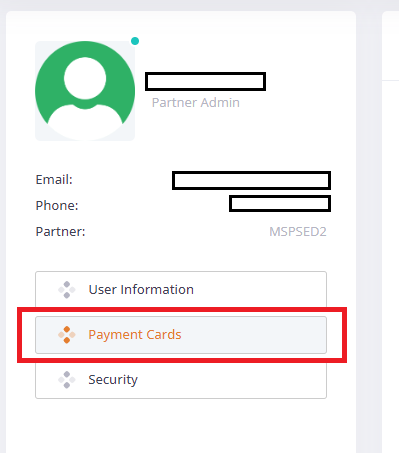
- Go to Payment Cards on the left side of the screen.
- Fill in details and Add a new card.
- Click on “ALLOW OTHER USER” to allow other Users of the Organization to use the CC.
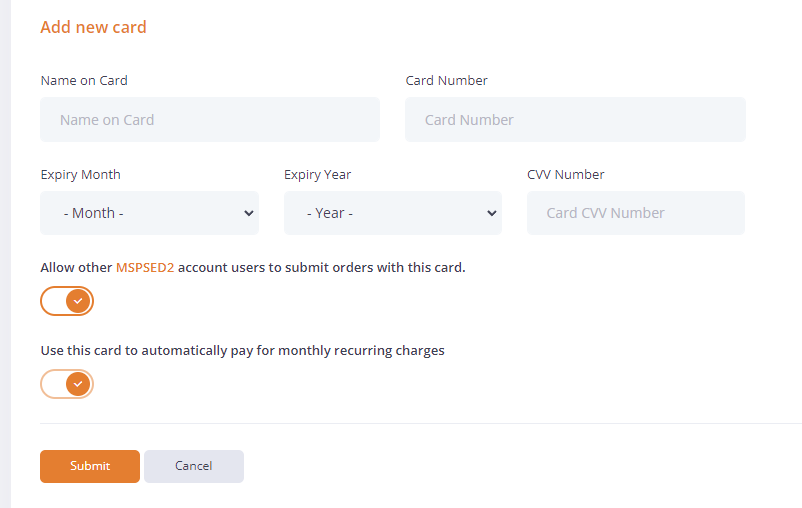
- Click on “ALLOW OTHER USER” to allow other Users of the Organization to use the CC.
- Log in to the portal at https://customers.rabbit.run/
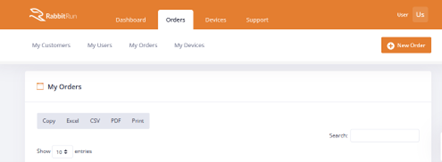
- Click on ORDERS > MY ORDERS
- Click on NEW ORDER.
- If any special-order code is given, paste it into the field and click on Update order code.
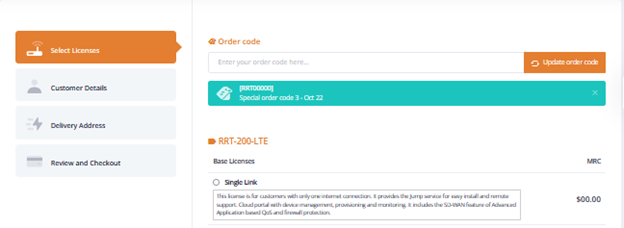
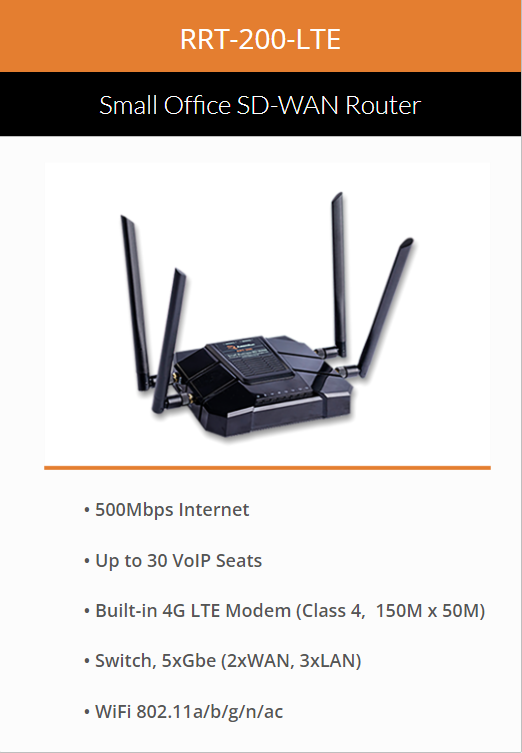
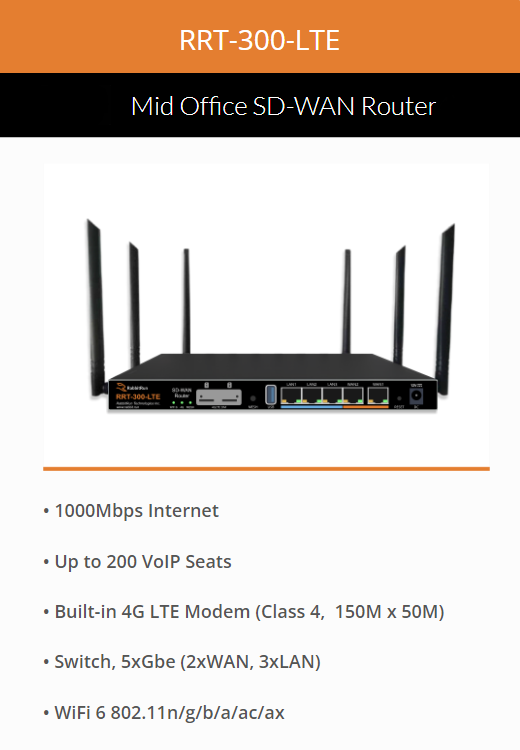
- Select the Base License for the order. Make sure it is under the correct model, i.e., RRT-200-LTE, RRT-300-LTE. Only one base license per order may be selected.
- Select the Addon Licenses for the order. Some addons may be automatically checked upon base license selection.
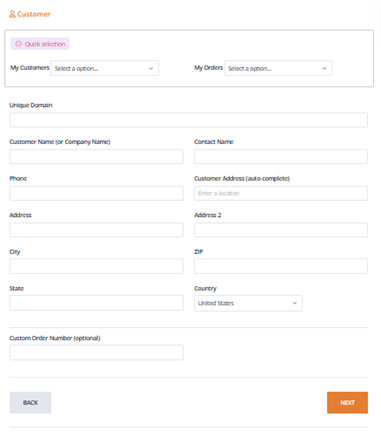
- Fill in the details of the customer where the site will be installed.
- This will determine some of the configuration on staging.
- The details may be copied down from previous customers or orders by picking from the My Customers or My Orders dropdown.
- Enter Custom Order Number if available and click on Next.
- Fill in the details for the delivery address.
- Clicking on Use customer detail will copy over the data from the previous page.
- Details may also be copied from previous orders by selecting from the My Orders dropdown.
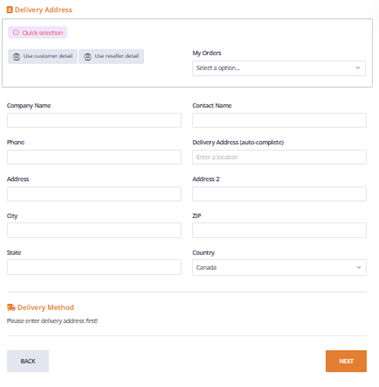
- Select the Delivery mode.
- Ground and 2nd Day Air AM shipping are available in the portal.
- If 2nd Day Air AM is preferred, please send a support ticket for other delivery options.
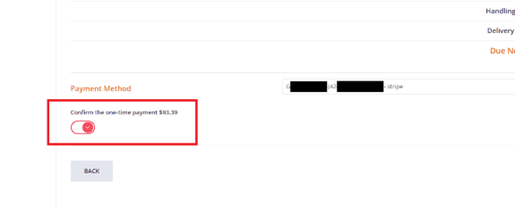
- Confirm the Customer and Delivery Details then select the Payment Method if available.
- Once the Payment Method (card on file) is selected, click on the “Confirm the one-time payment” slide button and on CHECK OUT TO COMPLETE ORDER.
- Once the Payment Method (card on file) is selected, click on the “Confirm the one-time payment” slide button and on CHECK OUT TO COMPLETE ORDER.
- Confirm the Order and contact support if there are any issues.
- RabbitRun Support Team can be reach at the following channels to ask for assistance:
- Email: support@rabbit.run
- Phone Number: 1-727-390-3390
The RRT200-LTE device has Female SMA connectors:
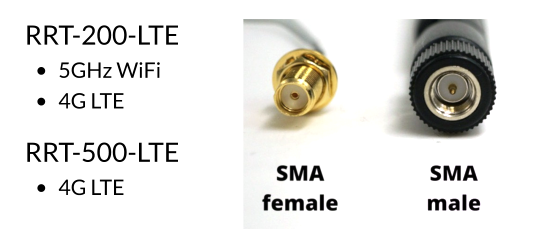
- There are many options to choose from and we found and recommend this one.
- Note that any 4GLTE SMA antenna will work as long as it has frequency range of 600MHz – 2960MHz as 4GLTE bands work at these frequencies.
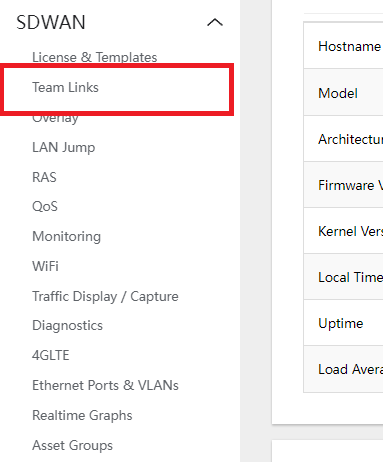
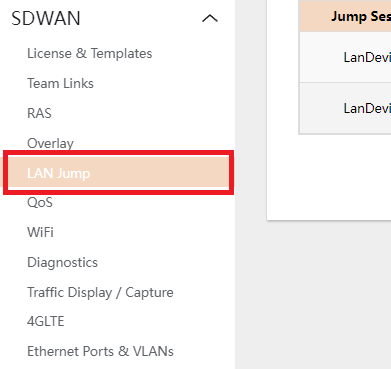
Portal Navigation
Ordering & Licenses
Device Navigation
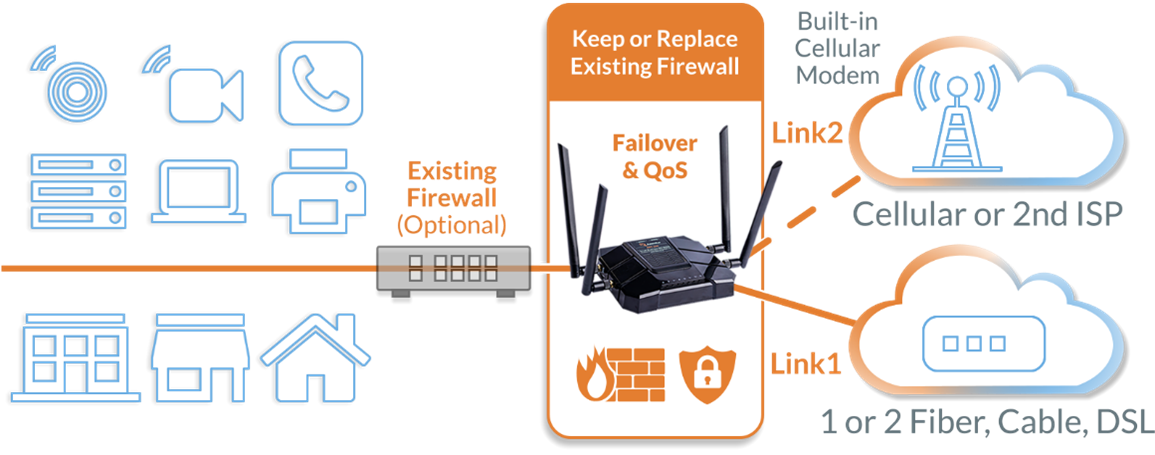
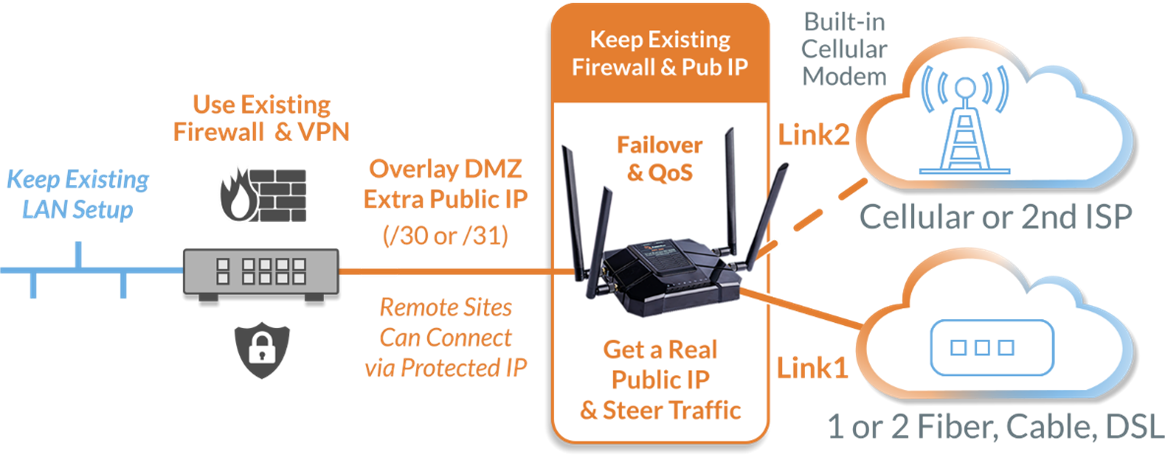
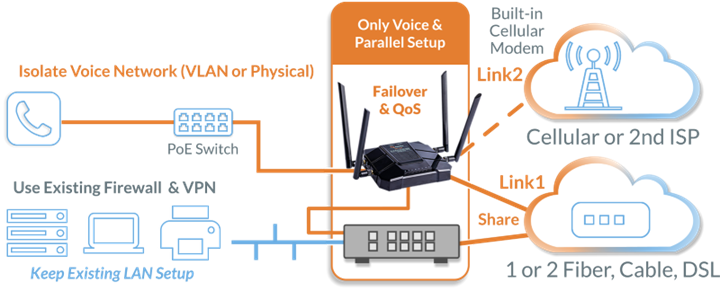
Installation Setups
Customer Portal
-
- Click on ORDERS > MY USERS

- Click on + ADD NEW USER
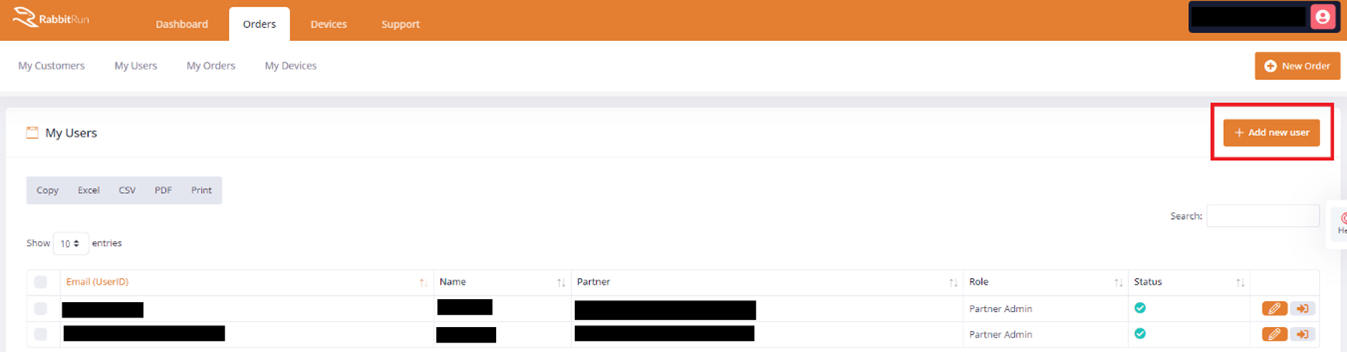
- Fill out the details Email, Full name. Click on the ORGANIZATION dropdown and select the Organization the user will be assigned to.
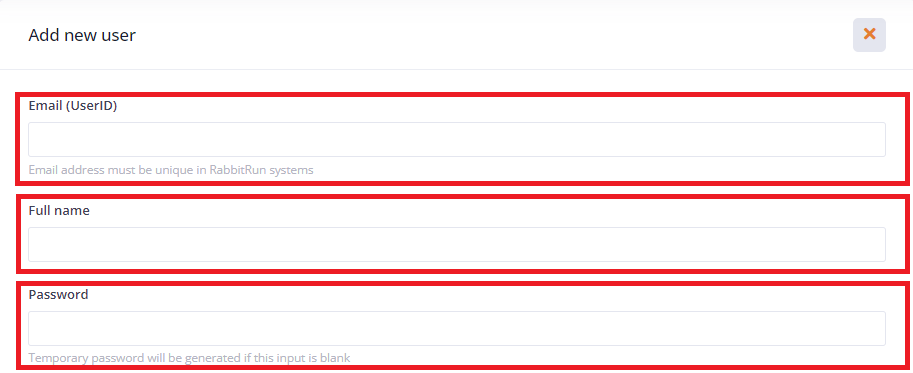
- Note. Leaving the PASSWORD field blank will send an email to the user’s email to set up a password.
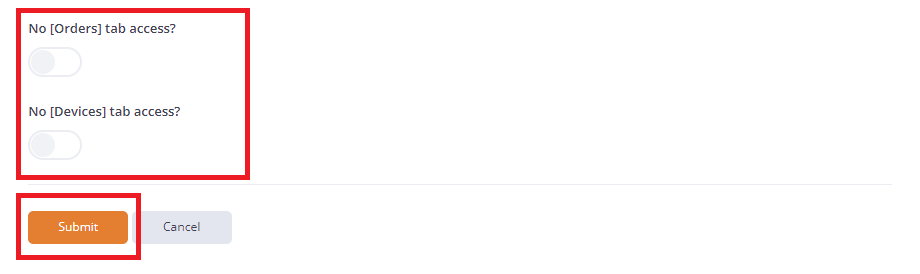
- NO [ORDERS] TAB ACCESS button – turning this on will disable ORDERS tab for the user and will inhibit the user from making orders.
- NO [DEVICE] TAB ACCESS button – turning this on will disable the DEVICES tab and the user will not be able to access the Devices Portal.
- Click SUBMIT
- Click on ORDERS > MY USERS
Devices Portal
-
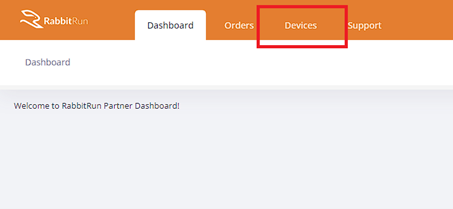
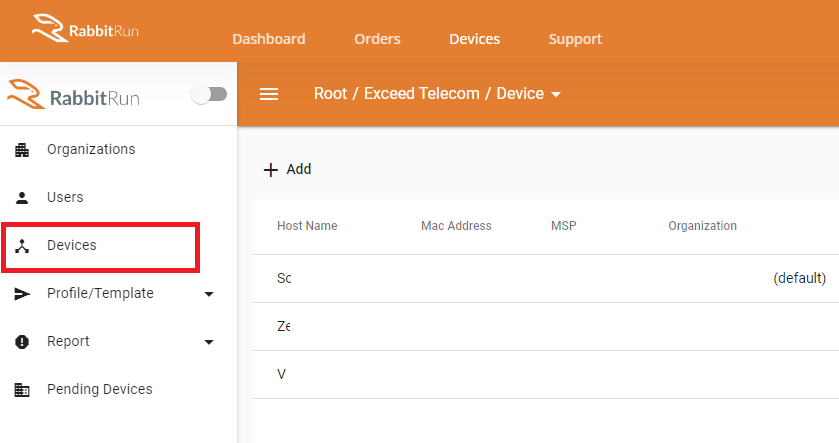
- Logged in to the Customer Portal, click on the DEVICES tab to access the Devices Portal.
- Logged in to the Customer Portal, click on the DEVICES tab to access the Devices Portal.
- Note: The user should be allowed access to the Devices Portal upon creation.
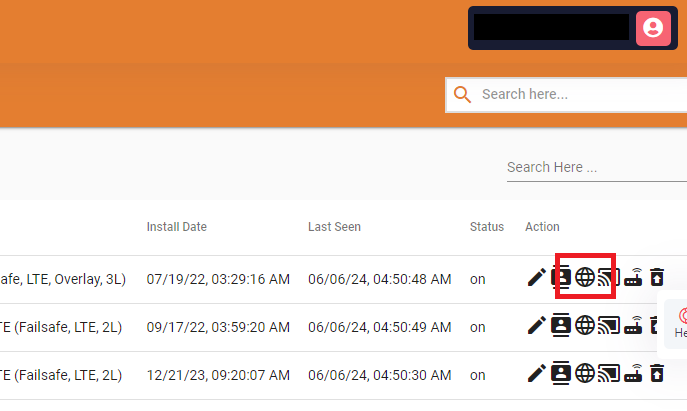
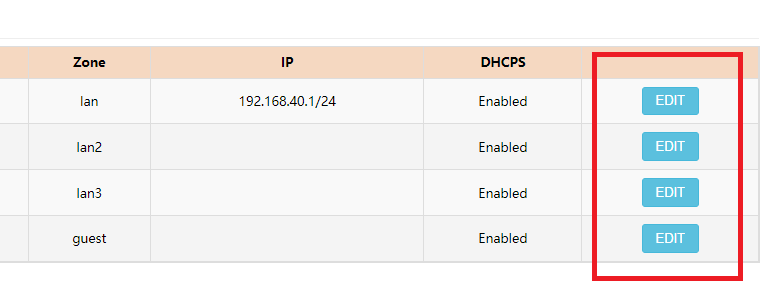
- Under DEVICES view, click on the PENCIL icon to edit device information.

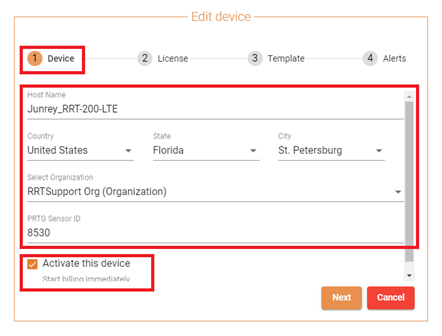
- Device Section
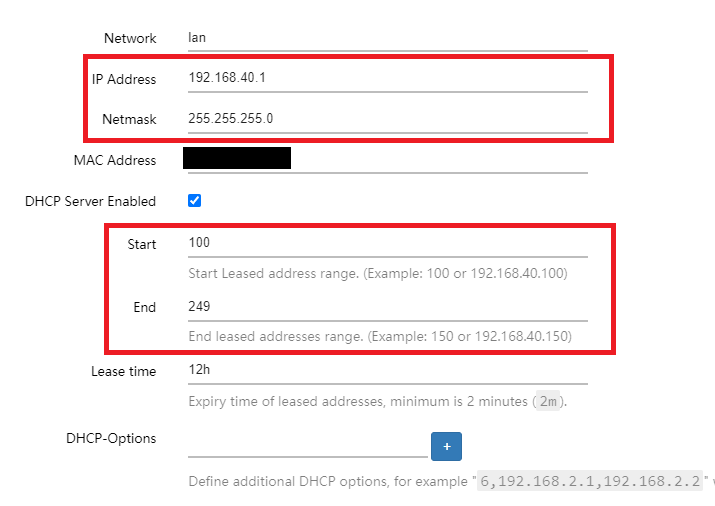
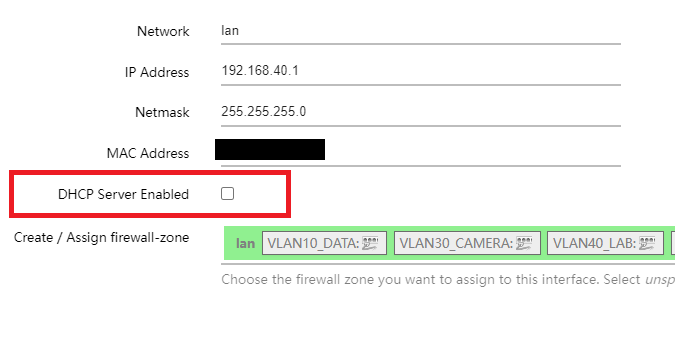
- Under DEVICE, edit the Hostname, Location of the site, Organization the device will be assigned to and click on the ACTIVATE THIS DEVICE checkbox upon installation.
- Under DEVICE, edit the Hostname, Location of the site, Organization the device will be assigned to and click on the ACTIVATE THIS DEVICE checkbox upon installation.
- License Section
- Under LICENSE, check the CHECKBOX of the license and the addon the device was ordered for.
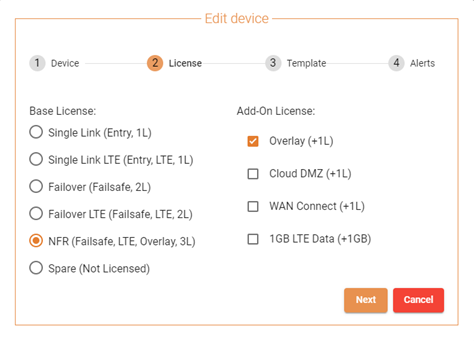
- Under LICENSE, check the CHECKBOX of the license and the addon the device was ordered for.
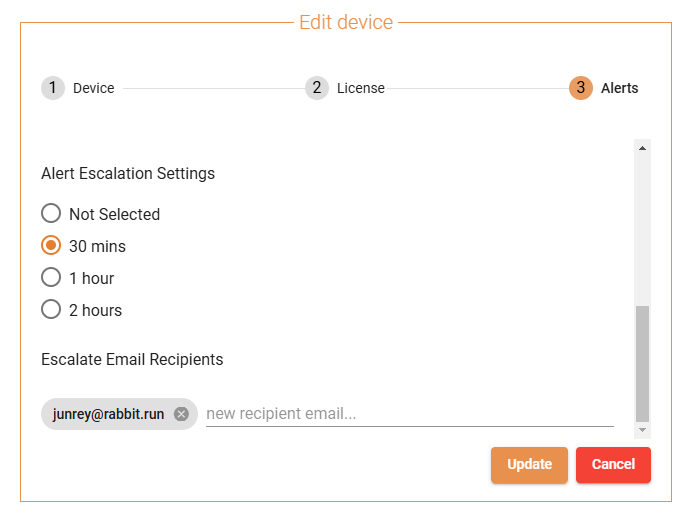
If the Partner/Customer wants to be sent Email Alerts 30 minutes and not immediately after a LINK or the DEVICE is DOWN, this can be done with the Escalation Alerts. Escalation Alerts can be setup for 30 minutes, 1 hour or 2 hours.
- Setting up Escalation Alerts.
- Click on the Pencil Icon to edit the device information.
- Under the ALERTS tab, scroll down to ESCALATION ALERTS
- Select the TIME DURATION you want to be sent Email Alerts after the LINK or the DEVICE is DOWN (make sure that LINK STATUS or DEVICE STATUS is selected).
- Add the EMAIL ADDRESS you want the alerts to be sent to.
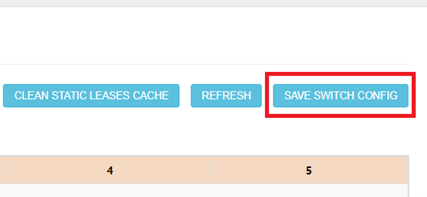
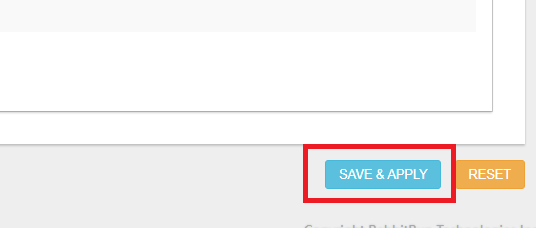
- Click on SAVE UPDATE.
- Logged into the Devices Portal, edit the DEVICE INFORMATION (Pencil Icon).
- Click on the Alerts Tab.
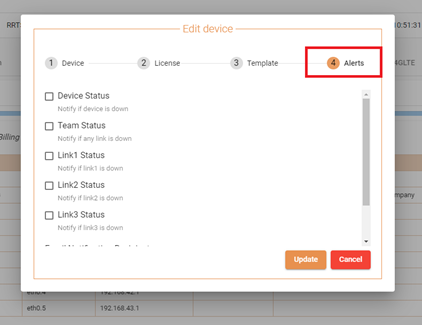
- Put a check on the Checkbox for the Alerts the user wants to receive notification from.
- Device Uptime – This alerts the user when the device goes offline.
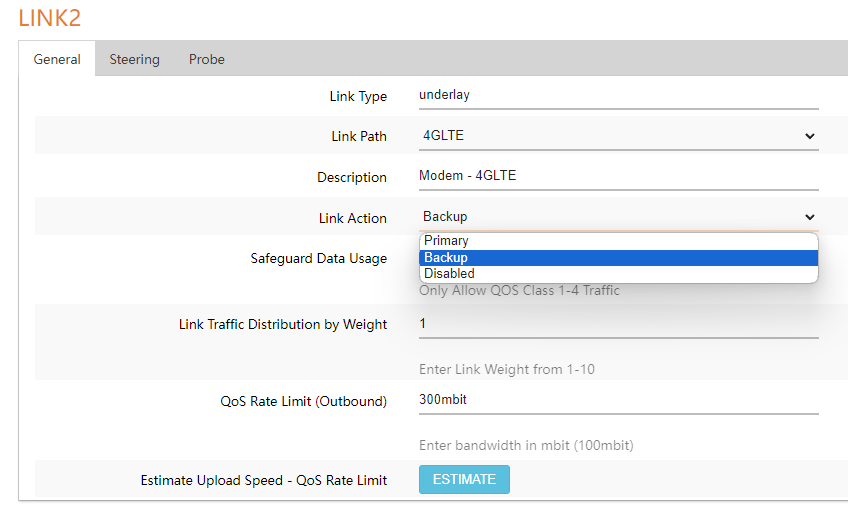
- Team Status – This sends an email alert to the registered email when Link1, Link2 or Link3 goes down.
- Link1 Status – This sends an email alert to the registered email when Link1 goes down.
- Link2 Status – This sends an email alert to the registered email when Link2 goes down.
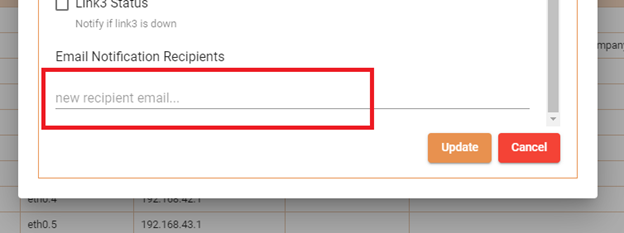
- Link3 Status – This sends an email alert to the registered email when Link3 goes down.
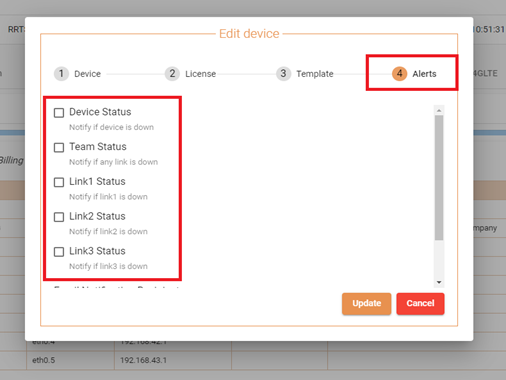
- At the very bottom, type in the email address the user wants to send the alerts to. Multiple emails are accepted provided that they are added individually.
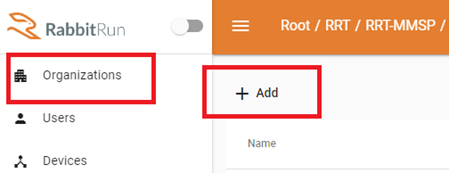
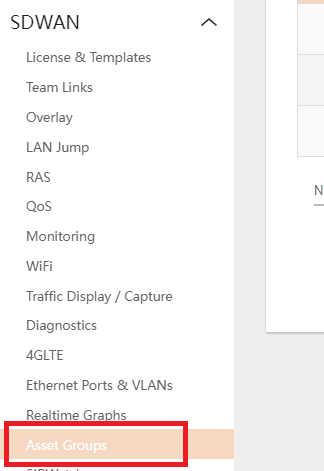
- Organization – This section shows all MSP or Organizations within the MMSP / MSP.
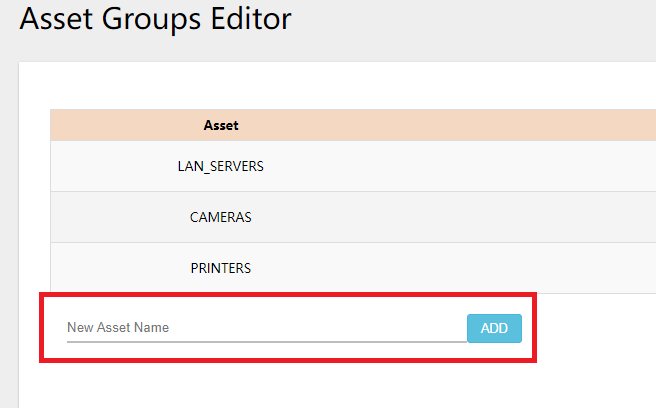
- New Organizations can also be added by clicking the ADD button.
- New Organizations can also be added by clicking the ADD button.
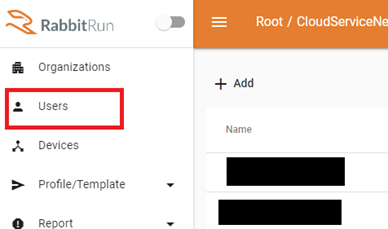
- Users – This section shows all users within the MMSP/MSP.
- New Users can also be added by clicking the ADD button.
- New Users can also be added by clicking the ADD button.
- Devices – This section shows all the devices within the MMS/MSP.

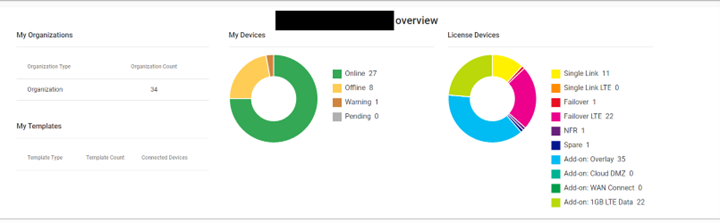
- Report – This section shows the Overview Summary of the devices, Licenses, Devices online, etc.
Email Alerts
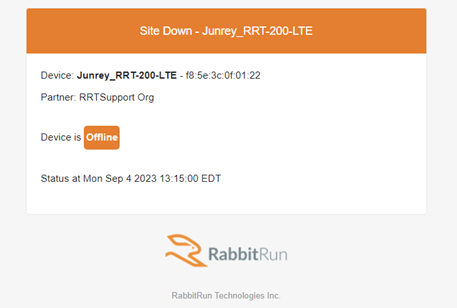
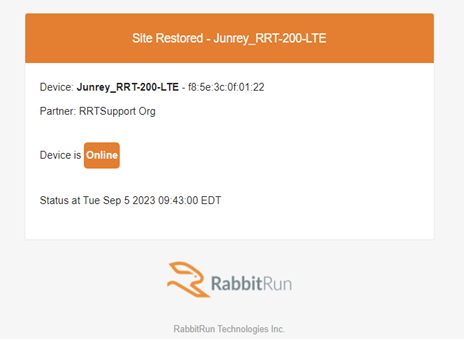
- Device Offline/Online email Alerts
- Site OFFLINE
- Site ONLINE
- Site OFFLINE
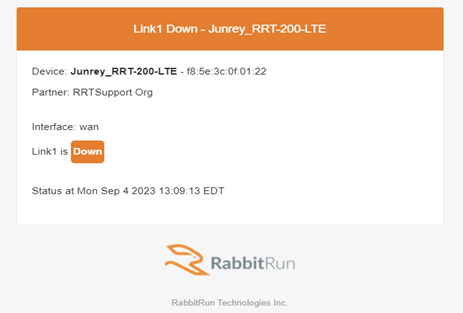
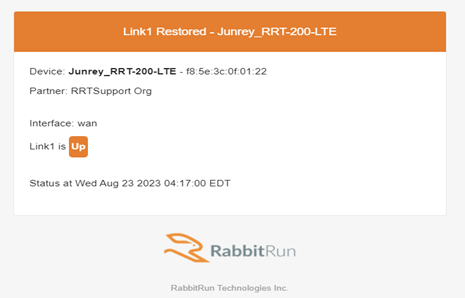
- Link(#) down/restore email Alerts.
- Link(#) DOWN
- Link(#) UP
- Link(#) DOWN


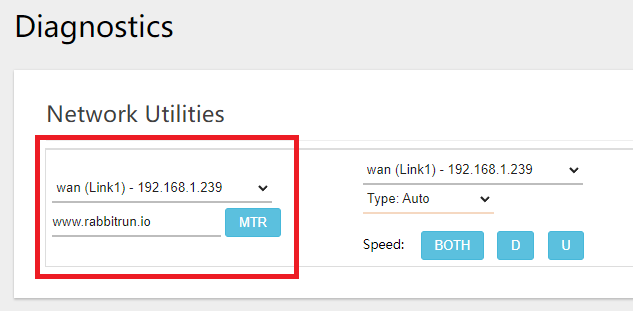
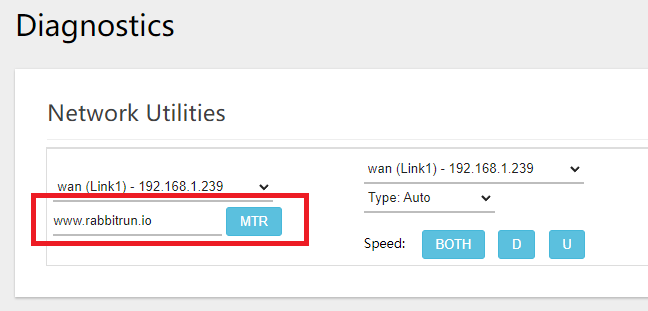
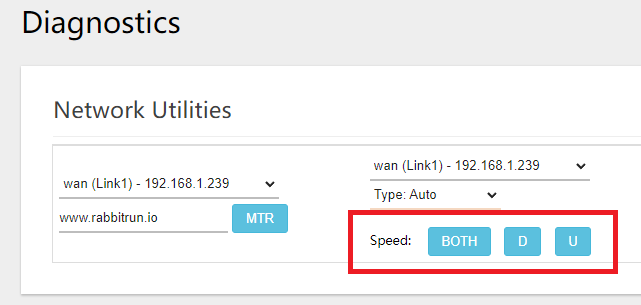
 Type in the destination IP/URL and click on MTR.